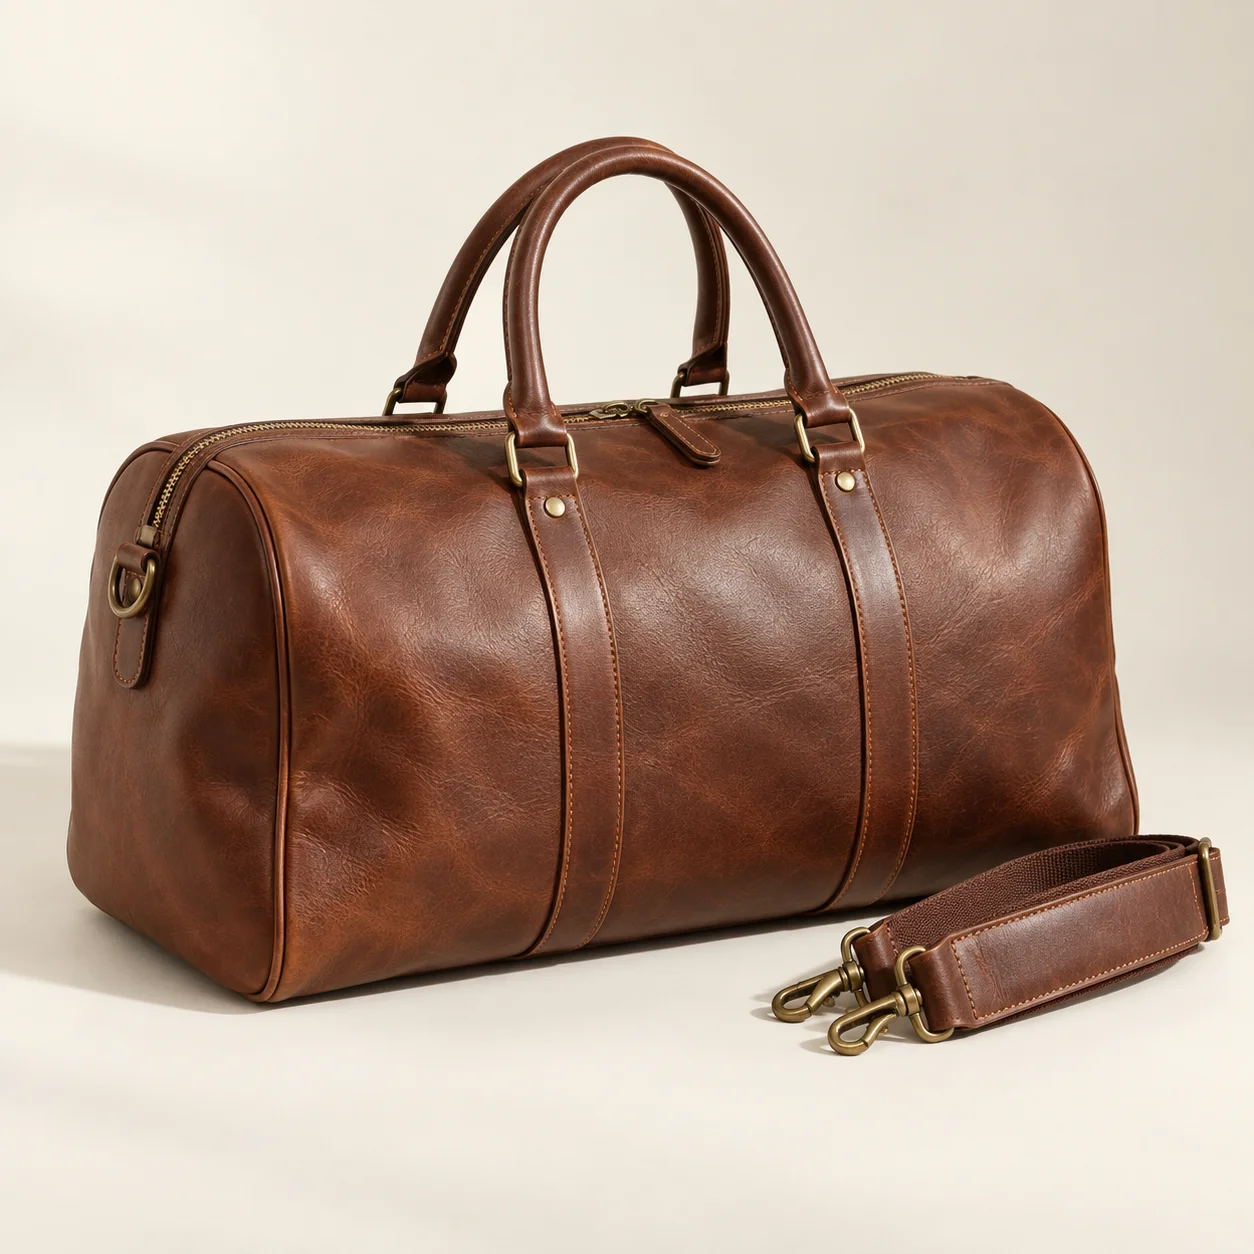
How to Hand Sew a Leather Wallet: A Step-by-Step DIY Tutorial
Are you ready to craft something truly timeless? Learning how to hand sew a leather wallet is one of the most rewarding entry points into leathercraft. Unlike mass-produced store-bought wallets, a DIY leather wallet made with your own hands offers un...
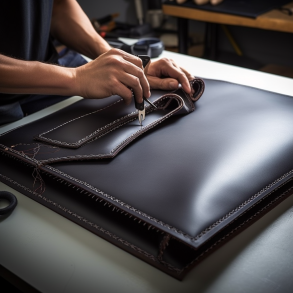
Are you ready to craft something truly timeless? Learning how to hand sew a leather wallet is one of the most rewarding entry points into leathercraft. Unlike mass-produced store-bought wallets, a DIY leather wallet made with your own hands offers unmatched durability and a unique story.
In this guide, we'll walk you through the entire process of leather wallet making for beginners—from selecting the right hide to mastering the incredibly strong saddle stitch. Whether you want to make a simple cardholder or a classic bifold, the principles here will set you up for success.
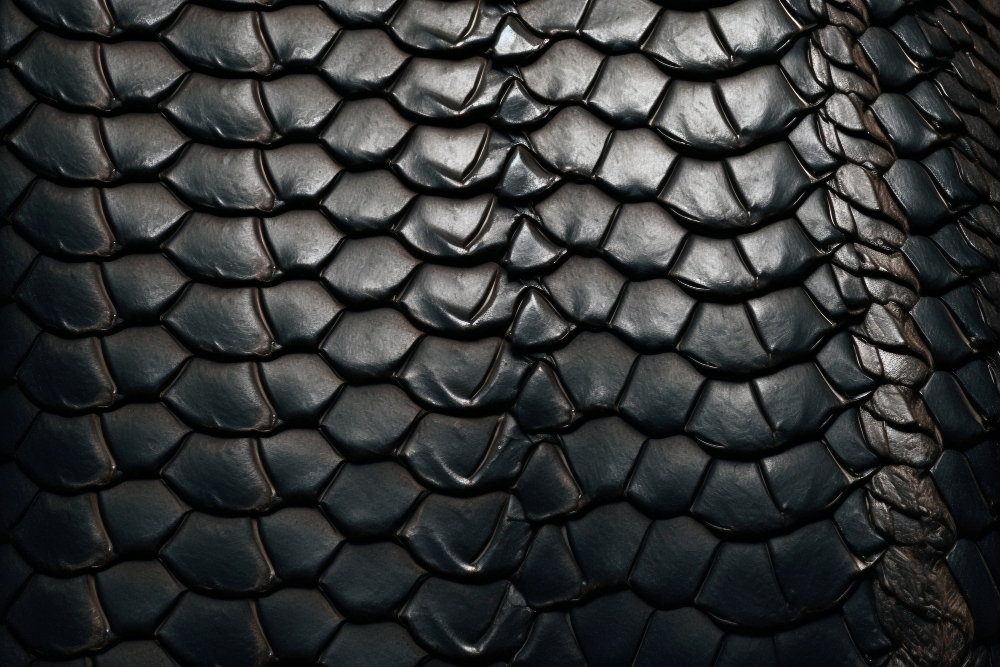
1. Gather Your Gear: Tools & Materials
You don't need a factory full of machines to make a high-quality wallet. In fact, hand tools often produce better results! Here is the essential kit for your first project:
The Materials
- Leather: For wallets, Vegetable Tanned leather is the gold standard. Aim for a weight of 2-3 oz (approx. 0.8mm - 1.2mm). It's stiff enough to hold shape but thin enough to layer without bulk.
- Thread: Waxed polyester or linen thread (0.6mm - 0.8mm is a versatile size).
- Adhesive: Water-based leather glue or contact cement.
The Tools
- Utility Knife or Rotary Cutter: Essential for clean, straight cuts.
- Steel Ruler: Prevents your knife from slipping while cutting.
- Pricking Irons or Stitching Chisels: To punch your stitching holes.
- Needles: Two blunt harness needles for saddle stitching.
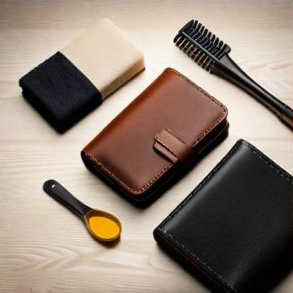
- Edge Beveler & Wood Slicker: For finishing the edges professionally.
2. Design and Cut Your Pattern
Before you cut into your expensive hide, plan your design. You can draw your own template on cardstock or download a free DIY leather wallet tutorial pattern online. A standard bifold usually consists of:
- 1 Outer Shell (approx. 8.5" x 3.25")
- 1 Inner Panel (slightly shorter than the outer shell)
- 2-4 Card Slots or Pockets
Trace your pattern onto the leather using a scratch awl or a specialized silver marking pen. Then, using your steel ruler as a guide, cut out your pieces. Keep your knife perpendicular to the leather to ensure a straight edge, which will make burnishing much easier later.
3. Prep and Glue the Assembly
Leather is slippery! Before you punch holes, you need to secure your pieces. Apply a thin layer of glue to the edges where the pockets will attach to the inner panel.
Once the glue is tacky, press the pieces together firmly. This ensures your stitching holes will line up perfectly through all layers. If you're making a bifold, remember that the outer shell needs to be slightly longer than the inner liner to allow the wallet to fold without bunching.
4. Punching the Stitching Holes
Unlike fabric, you can't just force a needle through leather. You need to pre-punch holes using your stitching chisels or pricking irons.
- Use a wing divider or groover to mark a straight line about 3mm-4mm from the edge.
- Place your chisel on the line, ensuring it is perfectly vertical (90 degrees).
- Strike firmly with a mallet.
- Move the chisel down the line, overlapping the last hole with the first prong of the next strike to keep spacing consistent.
5. Master the Saddle Stitch
This is the heart of how to hand sew a leather wallet. The saddle stitch is vastly superior to a machine lock stitch. If one stitch breaks on a machine-sewn wallet, the whole seam can unravel. With a saddle stitch, the rest remains secure.
The Technique:
- Cut a length of thread about 4x the length of your seam.
- Thread a needle on each end of the thread.
- Pass one needle through the first hole and pull until you have equal lengths of thread on both sides.
- Pass the left needle through the next hole. Then, pass the right needle through the same hole from the opposite direction.
- Pull both threads snug (but not so tight that you pucker the leather).
- Repeat until you reach the end, then backstitch 2-3 holes to lock it in place.
6. The Pro Finish: Burnishing Edges
The difference between a "homemade" look and a "handcrafted" look is usually the edges. Unfinished leather edges can look fuzzy and fray over time.
To finish them:
- Sand the edges flush with fine-grit sandpaper.
- Use an edge beveler to trim off the sharp corners of the edge.
- Apply a small amount of water or Gum Tragacanth to the edge.
- Rub briskly with a wood slicker or canvas cloth until the friction heat turns the edge smooth and glossy.
Conclusion: Your Wallet, Your Legacy
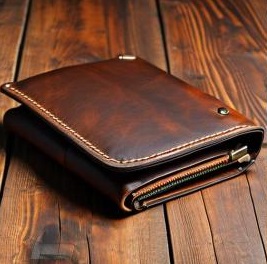
Congratulations! You've just completed your first DIY leather wallet. It might have taken a few hours, but you now have a durable accessory that will likely outlast any store-bought alternative. As the leather breaks in, it will develop a unique patina that tells your story.
Leathercraft is a journey of constant improvement. Don't worry if your first stitches aren't laser-straight—that character is proof of hand work. Keep practicing, try new patterns, and soon you'll be making gifts for everyone you know.
Ready for your next project? Check out our guide on Useful Handmade Leather Goods For Men And Women for more inspiration.

Product care educator and master craftsman with a deep passion for leather longevity.