How to Make a Men's Leather Trifold Wallet: Pattern & DIY Guide
Creating your own leather goods is a rewarding journey, and learning how to make a leather trifold wallet is a perfect project for both beginners and intermediate crafters. A handmade trifold wallet isn't just a practical accessory; it's a durable st...
Creating your own leather goods is a rewarding journey, and learning how to make a leather trifold wallet is a perfect project for both beginners and intermediate crafters. A handmade trifold wallet isn't just a practical accessory; it's a durable statement piece that ages beautifully with time. In this guide, we'll walk you through the process of designing a leather trifold wallet pattern, selecting the right materials, and stitching it all together for a professional finish.
Why Choose a DIY Men's Leather Trifold Wallet?
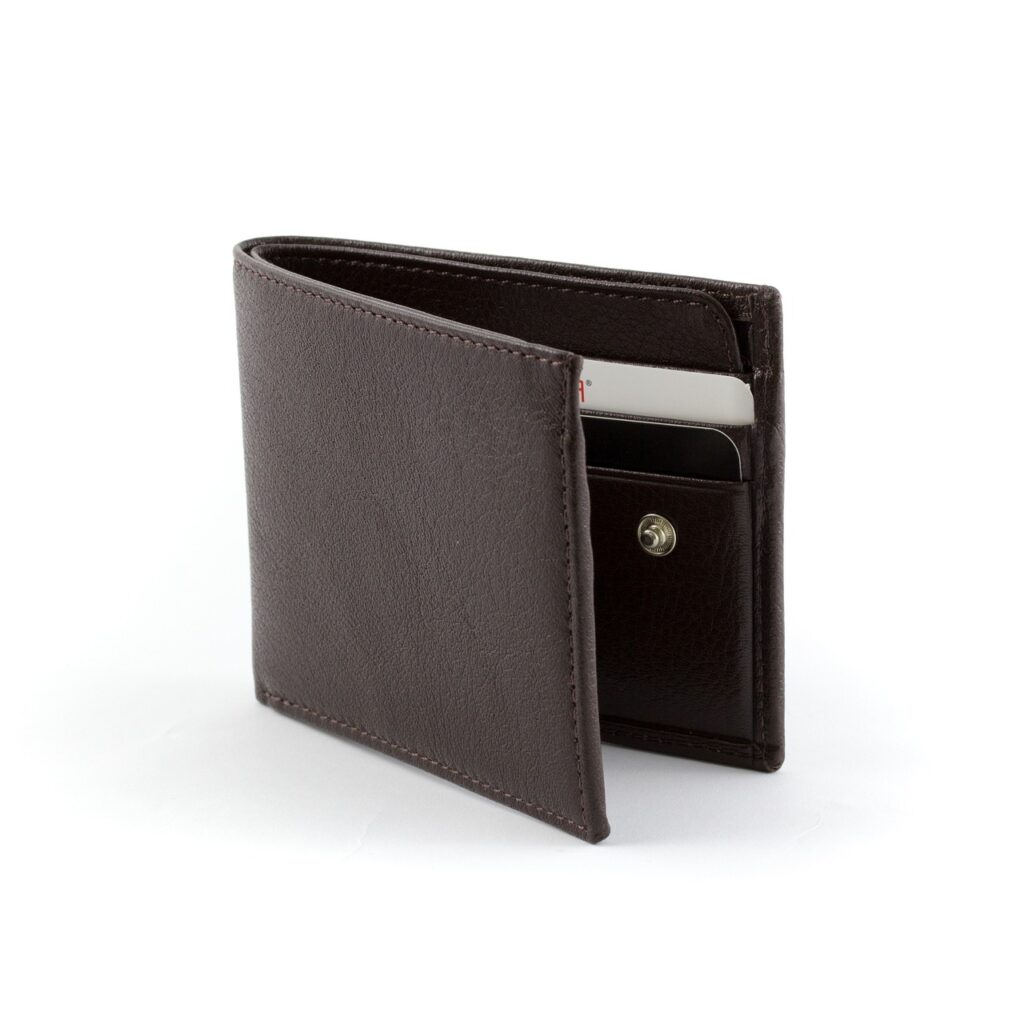
Trifold wallets are classic. They offer ample space for cash, multiple card slots, and often an ID window, all while folding down into a compact size. By making a DIY men's trifold wallet, you control the quality of the leather and the layout of the pockets. You can choose a rugged, full-grain vegetable-tanned leather that develops a rich patina or a softer chrome-tanned leather for a sleeker feel.
Tools and Materials You Will Need
Before diving into the construction, gather your supplies. Using high-quality materials ensures your wallet will last for years.
Materials:
- Leather: For the outer shell, aim for 3-4 oz (1.2-1.6mm) leather. For the inner pockets, thinner leather around 2-3 oz (0.8-1.2mm) reduces bulk. Vegetable-tanned leather is recommended for beginners as it burnishes well.
- Thread: Waxed polyester or linen thread (0.6mm or 0.8mm) is standard for hand stitching.
- Leather Glue: Water-based contact cement works best.
Tools:
- Cutting Mat & Rotary Cutter (or X-Acto Knife): For precise, clean cuts.
- Ruler & Square: To ensure your pattern lines are straight.
- Stitching Chisels or Pricking Irons: To punch holes for sewing.
- Needles: Two harness needles for saddle stitching.
- Edge Beveler & Burnisher: For smooth, professional edges.
- Sandpaper: Various grits for edge finishing.
Step 1: Designing the Leather Trifold Wallet Pattern
The first step in any leather project is the pattern. A standard trifold wallet typically measures around 9 inches wide by 4.5 inches tall when open, folding down to roughly 3 inches by 4.5 inches.
You can draft your own pattern on cardstock or download a digital template. Key components usually include:
- Main Body Panel: The large outer piece.
- Inner Liner: Slightly shorter than the outer panel to allow for folding without wrinkling.
- Card Slots (T-slots): These stack on top of each other to hold cards.
- Pocket Backers: The base layers for the card slots.
Pro Tip: Make a paper mock-up first to test the fold and card fit before cutting your expensive leather.
Step 2: Cutting and Prepping the Leather
Once your pattern is ready, trace it onto your leather using a scratch awl. Cut carefully along the lines. Accuracy here is crucial; even a millimeter off can affect how the wallet aligns.
Before assembly, skive (thin down) the edges of your card pockets if the leather feels too thick. This reduces the bulk where multiple layers overlap.
Step 3: Assembling the Interior
Start by assembling the card banks. Glue the bottom edges of the card slots to their backing pieces and stitch the bottom lines only (since you won't be able to reach them later). Once the card slots are stacked and secured, trim any excess from the sides to ensure a flush edge.
Step 4: Stitching the Wallet Together
Glue your assembled interior sections to the main body panel. Remember that the outer shell needs to be slightly longer than the inner liner to accommodate the fold. If you glue them flat, the inner leather will bunch up when you close the wallet.
Use a wing divider to mark your stitching line about 3-4mm from the edge. Punch your holes with a stitching chisel. Then, using the saddle stitch technique, sew around the perimeter. The saddle stitch is superior to machine stitching because if one stitch breaks, the rest remain unravelled.
Step 5: Finishing the Edges
The difference between a homemade-looking wallet and a professional one is often the edges. Sand the edges flush, then bevel them to round off the corners. Apply a small amount of water or tragacanth gum and rub vigorously with a wood burnisher or canvas cloth until the edge is slick and shiny. You can also dye the edges for a polished look.
Conclusion
Congratulations! You've just learned how to make a leather trifold wallet. With your new pattern and skills, you can experiment with different leather types, thread colors, and pocket configurations. A handmade wallet is a functional piece of art that you can carry every day or give as a thoughtful, personalized gift.
Ready for your next project? Check out our other guides:
How to make men's handmade leather wallet?
How to choose best leather men's wallet?

Product care educator and master craftsman with a deep passion for leather longevity.